

Your cart is currently empty!.
You may check out all the available products and buy some in the shop.
Continue Shopping
Effortlessly set up your product with our comprehensive video tutorial and step-by-step guide. Designed for all skill levels, even the least experienced buyers, this guide ensures a smooth and enjoyable installation process—helping you get the most out of your purchase.
Welcome! This guide will walk you through the simple process of installing your new key hanger. Please read through the steps carefully before beginning. We’ve included instructions for both light-duty (up to 2 lbs.) and heavy-duty (up to 20 lbs.) mounting.
Please verify that your package includes the following items
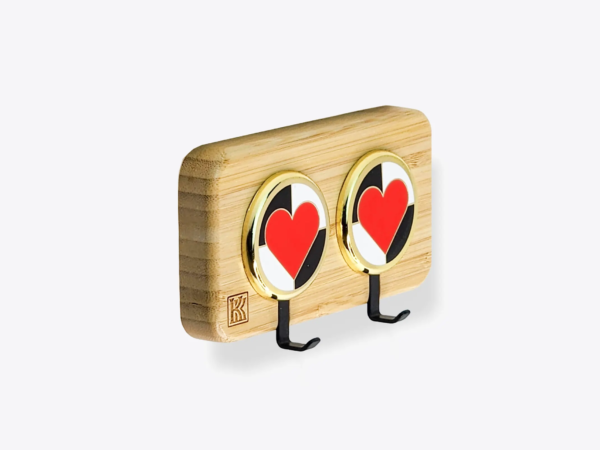
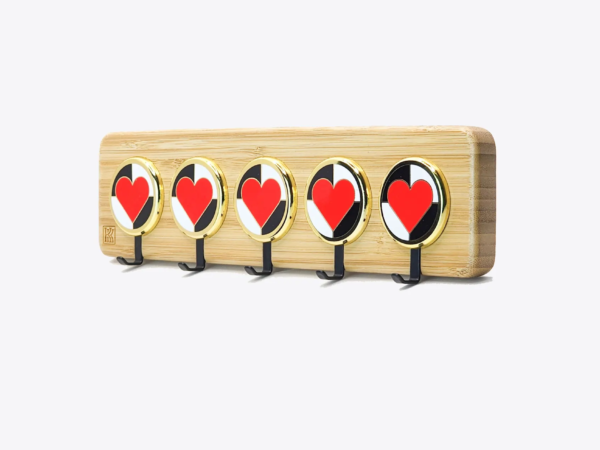
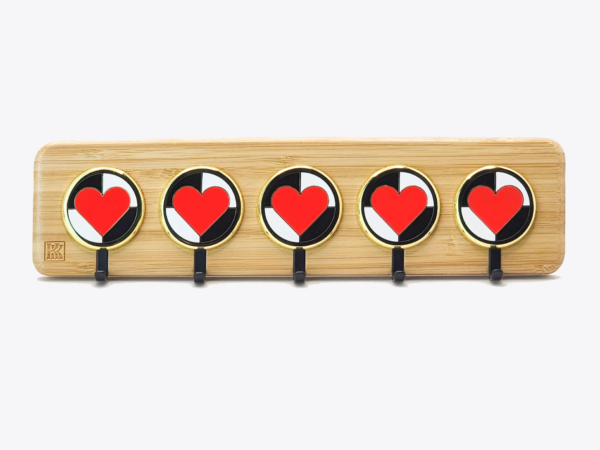
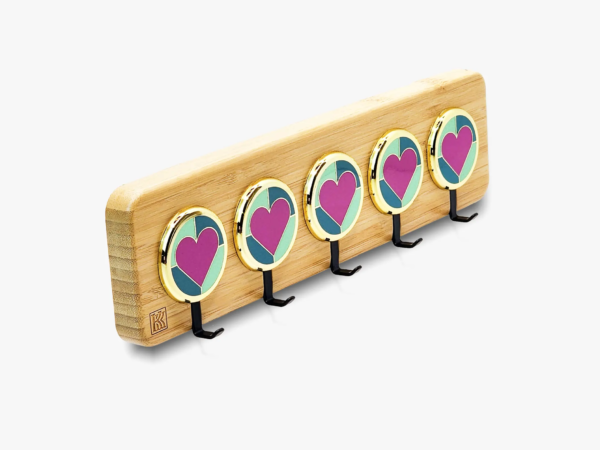
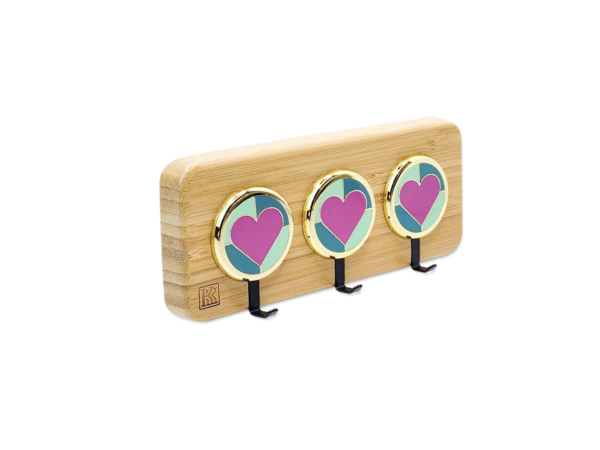
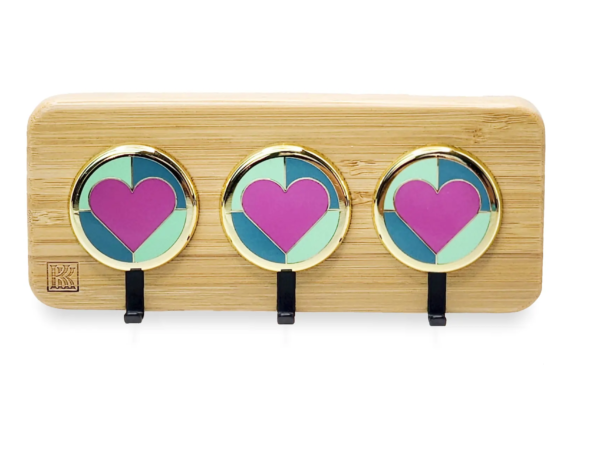
KK Hook Our signature key hanger.
Precision Mounting Template.
Premium Hardware Set.
KK Card with QR Code.
Hammer (if using anchors) Required only for heavy-duty mounting with wall anchors.
Level (optional but recommended) Ensures precise horizontal alignment for a polished, professional finish.
Light-Duty Installation (Up to 2 lbs.) For hanging lightweight items (generally up to 2 lbs.), the included screws may be sufficient, depending on your wall material. No anchors required.
Heavy-Duty Installation (Up to 20 lbs.) For heavier items (up to 20 lbs.), we recommend using the provided wall anchors unless you’re certain the screws are secured directly into a wood stud. Anchors offer enhanced support, especially in drywall or plaster surfaces.
Remove the Installation Template from the box and choose your desired mounting location. Hold the template flat against the wall and align its top edge horizontally.
Tip: Exact leveling isn’t critical at this stage, just aim for a roughly horizontal placement to simplify the next steps.
With the first screw in place, gently adjust the template until its top edge is perfectly horizontal.
Tip: For best results, use a level along the top edge, though it’s not strictly required.
Hold the template steady and position the second screw over the remaining mark. Carefully drive it into the wall, using the same method as before.
Once both screws are in place, remove the template to proceed with mounting.
If you’re mounting into drywall, plaster, or are unsure whether the screws hit a stud, install the provided metal anchors to ensure full weight capacity.
Installation Steps:
Remove Screws Carefully unscrew and remove both screws from the wall.
Insert Metal Anchors Use the existing holes as pilot guides. Position the tip of each metal anchor into the hole and gently tap with a hammer until flush with the wall surface.
Reinstall Screws Drive the screws back into the installed anchors, stopping when the screw head sits about ¼ inch (6mm) from the wall surface.
The KK Hook is engineered to support up to 20 lbs, provided it’s mounted correctly. Actual performance depends on your wall type, drywall, plaster, concrete, or wood.
If you felt strong resistance while driving both screws, they likely hit a wood stud or solid backing. In this case, anchors are not required—you may proceed directly to Step 5.
Whether you used anchors or screwed directly into studs, ensure both screw heads are protruding about 1/4 inch from the wall.
Locate the mounting slots (keyhole-shaped openings) on the back of your key hanger unit.
Align these slots over the protruding screw heads on the wall.
Gently press the key hanger against the wall and slide it down (or sideways, depending on the keyhole orientation) to engage the screws securely in the narrower part of the slots.
Ensure the hanger feels stable and secure on the wall.
🎥 For a visual walkthrough of the installation process, please watch the official KK Hook installation video
Your KK Hook is now securely mounted and ready to elevate your space.
Enjoy the elegance, utility, and craftsmanship, every time you reach for your keys.
You may check out all the available products and buy some in the shop.
Continue Shopping